Essential Tools Every Homeowner Needs for Timber Flooring Installation
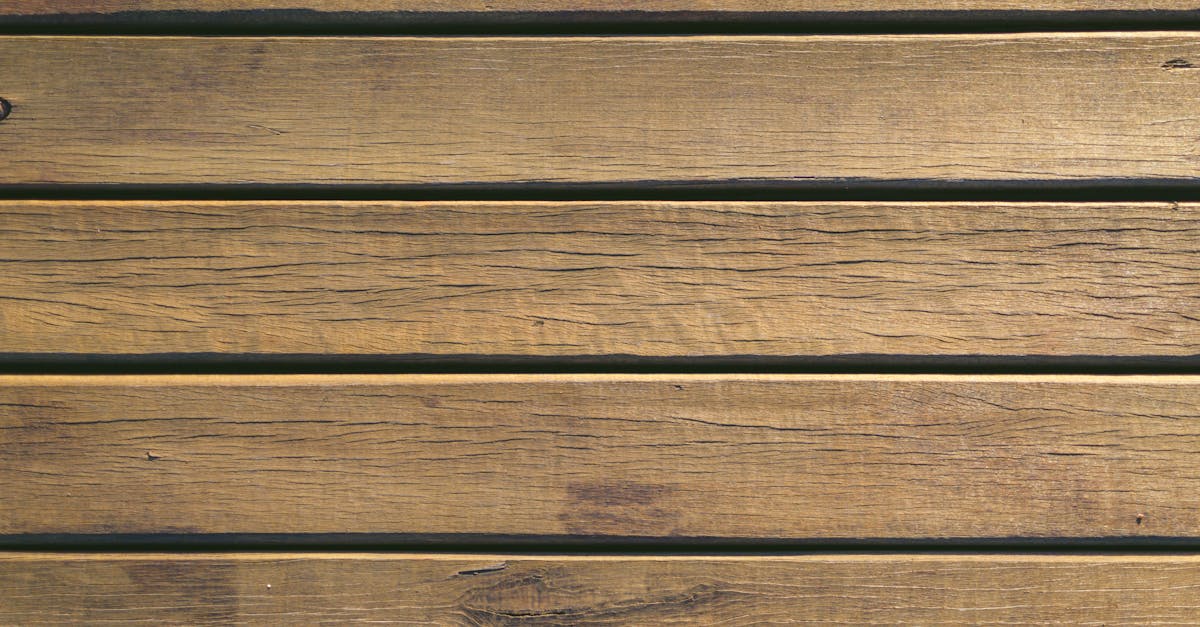
Table Of Contents
Installation Tools
When embarking on a timber flooring installation, having the right tools is crucial for a successful project. A quality circular saw is fundamental, allowing for precise cuts on various board sizes. Additionally, a jigsaw can be invaluable for making intricate cuts around door frames and vents. For achieving a level finish, a laser level or spirit level ensures that each plank is laid evenly, which is essential for aesthetic appeal and structural integrity.
Pry bars serve as an excellent aid for manipulating and positioning the boards during installation. An impact driver or drill can speed up the process of securing the floorboards, particularly when paired with proper screws or nails. Lastly, a tapping block helps in fitting the boards tightly together without damaging their edges. This combination of tools will enhance accuracy and efficiency throughout the installation process.
Key Tools for Laying Timber Floors
When embarking on a timber flooring installation, having the right tools is essential for a smooth process. A tape measure is crucial for accurate measurements, ensuring each plank fits perfectly in the designated area. A square will help maintain right angles, particularly in corners and tight spots. A reliable saw, such as a circular or mitre saw, is indispensable for cutting boards to size. These tools lay the groundwork for a successful installation, providing both precision and efficiency.
Additionally, a flooring nailer or stapler is a must-have for securing the timber boards. This tool simplifies fastening and enhances the stability of the flooring. Moreover, using a pull bar and tapping block can assist in snugly fitting the planks together without damaging the surfaces. Each of these tools contributes to the overall quality of the installation, ensuring that the finished floor not only looks good but remains durable over time.
Adhesives and Fasteners
When installing timber flooring, choosing the right adhesives and fasteners is crucial for ensuring durability and stability. Different types of adhesives are available, such as water-based, polyurethane, and PVA (polyvinyl acetate). Each type offers unique benefits depending on the timber and subfloor materials used. It’s important to follow the manufacturer's guidelines to achieve optimal adhesion and performance, especially in areas with varying humidity levels.
Fasteners, including nails, screws, and staples, also play a vital role in securing timber floorboards. Pneumatic nail guns can expedite the installation process, making it more efficient. Screws provide additional holding power, particularly when dealing with hardwoods. Selecting the appropriate length and type of fastener ensures a secure fit, preventing any potential movement or squeaking in the floor over time. Consider local building regulations and personal preferences when determining which fasteners to use for the specific flooring project.
Types of Glue and Nails to Use
When installing timber flooring, selecting the right adhesive is crucial for ensuring a long-lasting bond. Polyurethane and PVA (polyvinyl acetate) glues are two of the most commonly used options. Polyurethane glue is particularly versatile and water-resistant, making it suitable for areas exposed to moisture. PVA glue, on the other hand, is easier to clean up and is ideal for indoor installations. Always check the manufacturer’s recommendations to ensure compatibility with the specific timber being used.
Choosing the appropriate nails is equally important for securing timber boards. Different types of nails serve specific purposes, with flooring nails and cleat nails being popular choices for timber installations. Flooring nails are typically thicker and provide superior holding power, while cleat nails are designed to have less splitting potential. In addition, it’s essential to consider the length and gauge of nails to ensure they penetrate adequately without compromising the integrity of the flooring material. Using the right combination of glue and nails can make a significant difference in the quality of the installation.
Finishing Touches
The final stages of timber flooring installation require careful attention to detail in order to achieve a polished look. Sanding tools, such as a floor sander or an orbital sander, are essential for smoothing out any imperfections or rough patches. Using varying grits of sandpaper helps in progressively refining the surface, ensuring it is ready for finishing. Additionally, incorporating a vacuum or a dust extractor during this process minimises debris, allowing for a clean application of any sealers or finishes.
Once the floor is sanded, sealing becomes the next important task. A quality polyurethane or water-based finish can enhance the timber's natural beauty while providing protection against scratches and moisture. Applicators like rollers or brushes make it easier to apply the finish evenly across the surface. Taking the time to ensure full coverage and avoiding unnecessary drips will lead to a more professional appearance. Finally, allowing ample drying time as per the manufacturer's guidelines is crucial in achieving a durable and stunning final product.
Tools for Sealing and Finishing
To achieve a professional finish on timber floors, a selection of specific sealing and finishing tools is essential. A quality paintbrush or roller is crucial for applying sealants evenly across the surface. A foam roller can also provide a smooth application, minimising streaks and ensuring an even coat. Additionally, a fine grit sanding block is important for preparing the surface before sealing, allowing for better adhesion and a more polished look.
When it comes to sealing products, a spray applicator can be handy for reaching intricate areas and corners. It offers precision that traditional brushes often struggle to achieve. After applying the sealant, a soft cloth or buffer is ideal for polishing the surface to enhance the wood's natural beauty. Lastly, a safety mask and goggles should never be overlooked, providing necessary protection from fumes and dust during the entire sealing process.
FAQS
What are the essential tools needed for installing timber flooring?
Essential tools include a tape measure, chalk line, saw (circular or mitre), hammer, pry bar, and a level.
Do I need special adhesives for timber flooring?
Yes, it’s important to use adhesives specifically designed for timber flooring, such as polyurethane or water-based glue, to ensure a strong bond.
What type of fasteners should I use for timber floors?
You can use flooring nails, staples, or screws, depending on the type of timber flooring you are installing and your preferred installation method.
How do I finish timber flooring after installation?
After installation, you typically need to sand the surface, apply a sealant or stain, and then finish with a topcoat for protection and aesthetics.
Are there any specific tools required for sealing and finishing timber floors?
Yes, you will need tools such as a floor sander, edging sander, applicator pads, brushes, and possibly a spray gun for applying finishes.
Related Links
Understanding the Cost of Residential Timber Flooring InstallationStep-by-Step Guide to Timber Flooring Installation for Southport Residents
The Importance of Acclimating Timber Before Installation in Humid Climates
Ensuring a Perfect Finish: Sanding and Sealing Timber Floors After Installation
DIY vs Professional Timber Flooring Installation: Which is Right for You?
Selecting the Best Timber Species for Residential Flooring in Southport
Common Mistakes to Avoid When Installing Timber Floors in Your Home
How to Choose the Right Timber Flooring for Your Residential Space