How to Create Unique Patterns with Custom Timber Flooring
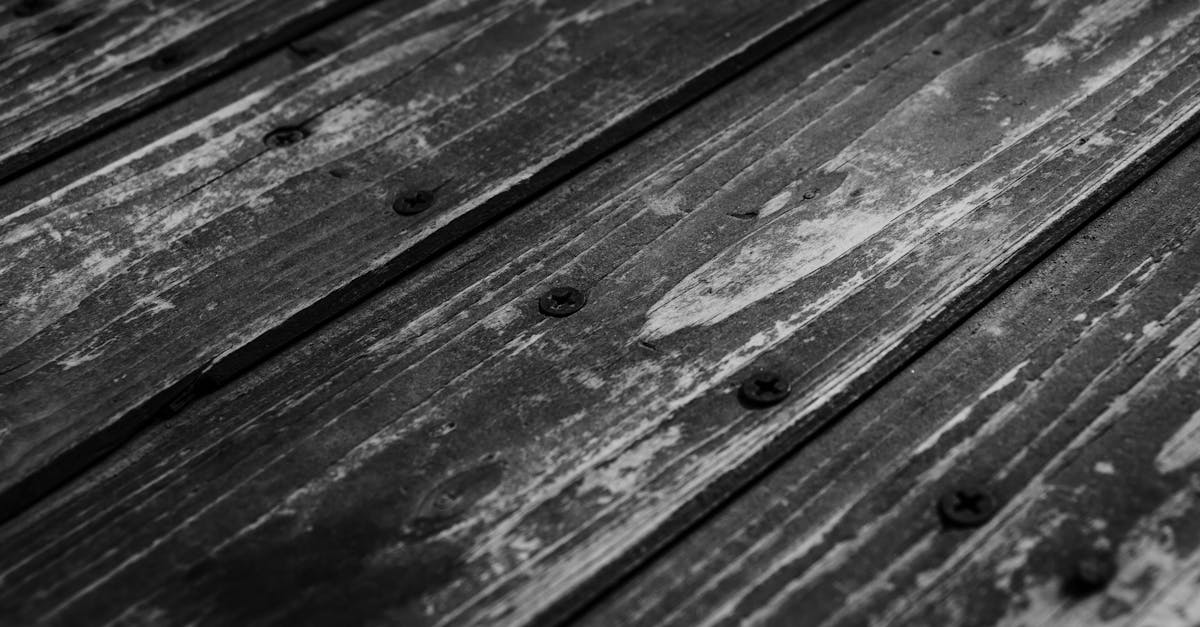
Table Of Contents
Cutting and Shaping the Timber
Careful planning is essential before engaging in the cutting and shaping of timber. Choosing the right type of timber not only influences the final appearance but also affects the ease of work. Common options include hardwoods, which offer durability, and softwoods, which can be easier to manipulate. Ensure your workspace is organised and free from distractions to enhance safety and efficiency during the cutting process.
Utilising quality tools is crucial for achieving precision in your cuts. A circular saw or jigsaw will allow for intricate shapes, while a table saw ensures straight cuts for larger pieces. Always double-check your measurements before proceeding, as accuracy is vital in creating a seamless design. Taking the time to sand down edges helps achieve a smooth finish, minimising splinters and making the installation process simpler.
Best Practices for Precision Cuts
Achieving precision in cutting timber is essential for creating customised patterns. Always ensure that your saw blades are sharp, as dull blades can lead to rough edges and uneven cuts. Measuring accurately with a reliable square and marking your cut lines clearly helps in maintaining consistency throughout the project. It’s advisable to double-check measurements before cutting, reducing the likelihood of costly mistakes. Using high-quality tools tailored for the specific type of timber also enhances accuracy.
When making intricate cuts, consider using a guide or a jig. This contributes to a more controlled cutting process, especially when working with angles or curves. Securing the timber firmly can prevent movement during the cutting process, ensuring clean lines. For complex patterns, take the time to practise on scrap pieces first. This approach allows you to refine your technique and make adjustments without jeopardising your main materials.
Installing Your Custom Pattern
Preparing the subfloor is crucial before laying down any timber boards. Ensure the surface is clean, dry, and level to prevent any future issues. Using a moisture meter can help ascertain the subfloor's condition. Once the subfloor is ready, begin by marking the layout on the surface based on your design. This visual guide will serve as a reference during installation, ensuring that each piece aligns perfectly with your envisioned pattern.
Start installing the timber by placing the first board according to your markings. Apply adhesive generously along the edges or use nails, depending on your chosen method. Ensure the boards fit snugly together, maintaining even gaps where applicable for expansion. As you progress, continually check your pattern alignment and make adjustments as necessary. This careful attention to detail throughout the installation process will help bring your unique design to fruition.
Step-by-Step Installation Guide
Begin by laying out the timber pieces in the desired pattern. It is crucial to visualise how the pieces will fit together before any adhesive or fasteners are used. This also allows for adjustments to ensure symmetry and balance. Once satisfied with the arrangement, prepare the floor surface by cleaning and leveling it thoroughly. An uneven surface can lead to complications later in the installation process.
Next, apply a suitable adhesive designed for timber flooring, ensuring even coverage across the surface. Carefully position the first piece, applying firm pressure to set it in place. Continue placing each subsequent piece, following your planned design and maintaining consistent spacing. Use spacers where necessary to create uniform gaps, especially if the installation incorporates grout lines or expansion gaps. Regularly check for level alignment to uphold the overall aesthetic and functionality of the flooring.
Finishing Touches for Timber Flooring
Selecting the right finish for your timber flooring is crucial to enhance its natural beauty and provide long-lasting protection. Several options are available, including oil-based finishes that penetrate deeply into the wood, offering a rich hue and durability. Water-based options have become increasingly popular as they dry quickly and emit fewer fumes. Each finish carries its own benefits and drawbacks, so it is important to consider factors such as the level of foot traffic, the desired aesthetic, and maintenance requirements before making a choice.
After the finish is applied, it is essential to allow adequate curing time, which can vary depending on the product used. Ensuring the area is well-ventilated will help in achieving a smooth, even application, free from dust and debris. Once cured, regular maintenance, including cleaning and occasional re-coating, will keep the timber looking its best. Following these steps helps ensure your custom timber flooring remains a stunning feature of your home for years to come.
Selecting the Right Finish for Longevity
Choosing the right finish for timber flooring is essential in ensuring its durability and aesthetic appeal. Oil-based finishes provide a robust protective layer while enhancing the natural beauty of the wood. These finishes penetrate deep into the timber, offering excellent moisture resistance. Water-based finishes, on the other hand, dry quickly and emit fewer volatile organic compounds, making them a more environmentally friendly option. Each type has its benefits depending on the environment and level of foot traffic.
When selecting a finish, consider factors such as the type of timber, the desired sheen level, and how much wear and tear the flooring is likely to endure. High-gloss finishes highlight the grain and colour but may show scratches more prominently. Satin or matte finishes offer a more understated look while effectively masking imperfections over time. Test samples on a small area to see how different finishes interact with your timber and the lighting in the space.
FAQS
What tools do I need for cutting and shaping timber for unique patterns?
For cutting and shaping timber, you will need a circular saw, jigsaw, measuring tape, square, and a sanding tool. Additional tools like a router can help for more intricate designs.
How can I ensure precision when making cuts in timber?
To ensure precision, always measure twice before cutting, use a straight edge as a guide, and take your time with each cut. A good quality saw blade can also improve accuracy.
What is the best way to install custom timber patterns?
The best way to install custom timber patterns is to follow a step-by-step installation guide, starting with a clean, level subfloor. Use adhesive or nails as recommended and ensure proper alignment for a seamless look.
How do I choose the right finish for my timber flooring?
When selecting a finish for your timber flooring, consider factors like durability, the type of timber, and the look you want to achieve. Water-based finishes offer a clear look, while oil-based finishes provide a warm tone and can enhance the wood grain.
How can I maintain my custom timber flooring after installation?
To maintain your custom timber flooring, regularly sweep or vacuum to remove dust and debris, clean with a damp cloth or a suitable wood cleaner, and avoid excessive moisture. Additionally, reapply the finish as needed to protect the wood.
Related Links
Understanding the Costs Involved in Custom Timber Flooring SolutionsKey Considerations for Custom Timber Flooring Installation in Southport
Custom Timber Flooring Finishes: Options and Recommendations
Integrating Smart Home Technology with Custom Timber Flooring
Enhancing Interior Aesthetics with Bespoke Timber Flooring Options
Custom Timber Flooring for Coastal Homes: Challenges and Solutions
Selecting Sustainable Options for Custom Timber Flooring in Southport
Benefits of Custom Timber Flooring Design in Residential Spaces