Installation Techniques for Reclaimed Timber Flooring
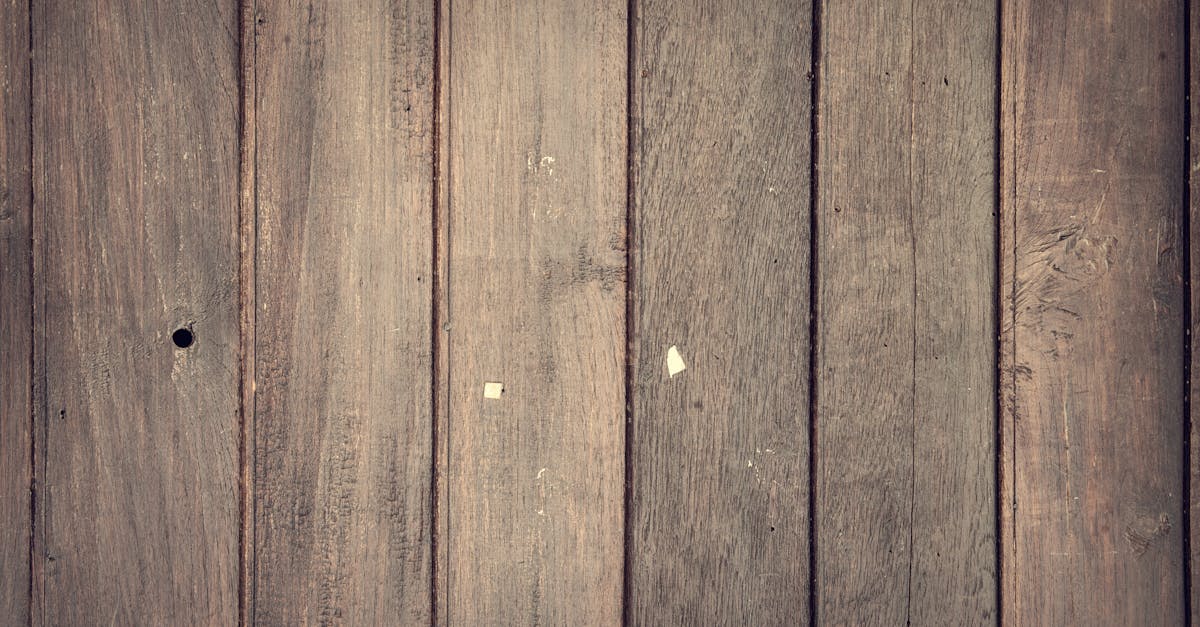
Table Of Contents
Nail Down Installation Technique
Nailing down reclaimed timber flooring offers a traditional and robust installation method. This technique ensures that the planks are securely attached to the subfloor, allowing for better stability and longevity over time. Proper preparation of the subfloor is crucial, requiring it to be clean, dry, and level before proceeding with the nailing process. Using the correct type of fasteners is important, as well as selecting nails that are specifically designed for hardwood to prevent splitting.
To begin, it's advisable to lay out the planks first to visualise the final look and to make necessary adjustments in advance. This helps in identifying any discrepancies in plank size or colour. Once laid out, nailing should be done at specific intervals, often recommended every 300mm or as per manufacturer guidelines. The use of a nail gun can expedite the process. Consistent checking of alignment throughout the installation is vital to achieving a professional finish.
Step-by-Step Guide to Nailing Down Planks
Begin by preparing the subfloor to ensure a level surface. Remove any debris or existing flooring that may interfere with the installation. If necessary, use a moisture barrier to protect the reclaimed timber from moisture. Lay a protective underlayment, which enhances stability and provides cushioning. Measure the area to determine the layout for the planks and cut them to size as needed, keeping in mind the expansion gaps required for timber.
Position the first plank along a wall, ensuring it is straight and square. Use a nail gun or hammer and finishing nails to secure the plank to the subfloor, placing nails approximately 30 cm apart along the length of the board. Continue adding planks, making sure to stagger the seams for a more natural appearance. It’s important to check for levelness throughout the process. Once all the planks are secured, proceed to fill any nail holes with wood filler that matches the floor colour, ensuring a seamless finish.
Glue Down Installation Technique
This technique is favoured for its ability to create a solid bond between the flooring and the subfloor. Proper surface preparation is vital before any adhesive is applied. Ensuring the subfloor is clean, dry and free of any debris will enhance the adhesion process. This method is often recommended for areas with high humidity or moisture levels, as the glued-down planks resist movement better than floating installations.
Applying adhesive correctly can be a meticulous process. A notched trowel is typically used to spread the glue evenly across the subfloor, which helps to achieve consistent coverage. It’s important to follow the manufacturer's guidelines regarding setting time and adhesive type, as using the wrong products can compromise the integrity of the installation. Careful alignment of each timber plank contributes to a seamless finish, minimising gaps and ensuring a long-lasting surface.
Applying Adhesive Correctly
Proper application of adhesive is crucial when installing reclaimed timber flooring. Begin by selecting a high-quality, moisture-compatible adhesive designed for timber. Before applying, ensure that the subfloor is clean and dry. This preparation includes sweeping away dust and debris, as well as addressing any uneven areas, as they can affect the bond. Use a trowel with the appropriate notch size for the adhesive type, ensuring that an even, consistent layer is applied across the subfloor.
When placing the timber planks, press each piece firmly into the adhesive. It is essential to avoid sliding the wood once it makes contact with the adhesive, which can compromise the bond. Follow the manufacturer's guidelines for drying times and handling after installation. This attention to detail will help create a durable and stable floor that showcases the unique character of reclaimed timber while ensuring longevity and resistance to movement.
Floating Floor Installation Technique
This installation method involves laying flooring planks over an underlayment without adhering them directly to the subfloor. Planks interlock, creating a structure that can expand and contract with changes in temperature and humidity. This flexibility makes floating floors ideal for areas prone to moisture, such as kitchens or bathrooms, where traditional installations might be less effective.
A key advantage is the ease of installation, as no nails or glue are required. DIY enthusiasts will appreciate how quickly the process can be completed. Additionally, this method allows for the possibility of removing and reusing the flooring, making it a sustainable choice for those who may want to change their flooring style in the future.
Benefits of a Non-Fixed Approach
A non-fixed approach allows for easier installation and removal of flooring. This flexibility is particularly beneficial for homeowners who may wish to change their flooring in the future or for those who live in areas with fluctuating humidity levels. The floating floor technique helps to minimise the risk of warping or buckling that can occur with more permanent installation methods.
Another advantage lies in the improved comfort underfoot. Floating floors create an air pocket between the subfloor and the surface, which can provide better insulation. This can lead to reduced energy costs in terms of heating and cooling. Additionally, the installation process often requires less preparation of the subfloor, making it an attractive option for DIY enthusiasts looking to enhance their living space.
FAQS
What is the best installation technique for reclaimed timber flooring?
The best installation technique depends on your specific needs and the conditions of your space. Nail down, glue down, and floating floor techniques all have their advantages, so consider factors like subfloor type, moisture levels, and desired aesthetics when choosing.
Can I install reclaimed timber flooring over existing floors?
Yes, you can install reclaimed timber flooring over existing floors, particularly with the floating floor technique. However, ensure that the existing floor is in good condition and level before proceeding with installation.
How do I prepare my subfloor for reclaimed timber flooring installation?
Preparation involves ensuring the subfloor is clean, dry, and level. Remove any debris, fix any uneven areas, and check for moisture levels to create a suitable base for your reclaimed timber flooring installation.
What type of adhesive is best for glue down installation?
For glue down installations, it's important to use a high-quality adhesive specifically designed for timber flooring. Look for products that are moisture-resistant and compatible with reclaimed timber to ensure a strong bond.
Are there any specific tools required for nailing down reclaimed timber flooring?
Yes, you will need a pneumatic nailer or a hammer and flooring nails for nailing down planks, as well as a saw for cutting the timber to size. Other helpful tools include a tape measure, level, and chalk line for accurate installation.
Related Links
Customising Your Space with Reclaimed Timber FlooringComparing Costs: Reclaimed Timber Versus New Timber Flooring
Common Issues with Reclaimed Timber Flooring and Their Solutions
Maintenance Tips for Preserving Reclaimed Timber Floors
Design Inspirations for Incorporating Reclaimed Timber Floors